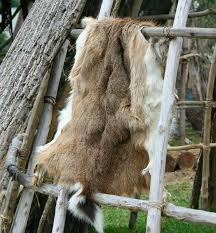
Hunting is one incredible experience, and it requires possessing several skills. If you were to ever come across a deer, one thing that comes to mind is cooking meat out of it and carving the skin for leather. The process of turning this skin or hide into leather for different commercial purposes is called Brain Tanning.
As this article on how to tan a hide: brain turning furs the simple way, takes you through different natural steps, you should bear in mind that it is labor-intensive.
Sometimes, you could spend a couple of days or weeks trying to get a final result. Likewise, you would have to work under muddy conditions; however, the entire process is rewarding and resourceful.
How to Tan a Hide: Brain Tanning Furs the Simple Way
There are different stages of tanning a hide to make it the perfect leather for use. These processes include:1. Preparation
The whole process of tanning a hide is dependent on the first few steps, usually called “Preparation.” It is also the stage where you determine whether a hide is suitable to tan or not.Evaluating and Trimming
The first step is evaluating the qualities of a hide, i.e., poor or top-notch. It is often advised to go for good hides, as they deliver excellent results; undoubtedly, a good hide means good leather for use. Besides, they are easy to work with, unlike the poor types. Following the evaluation is trimming to prepare it for a further test of value.Examining
As you examine your hide ready for tanning, you should look out for holes and lacerations.It is intensive work, and you don’t want anything limiting your chances of getting a good result. If you want to do this properly, check between the flesh and skin for knife marks. Peradventure, you find holes; try not to use the hide not to make things worse.
Fleshing
If after you have evaluated, examined, and trimmed a hide, and you find it worthy of tanning, the next step is fleshing.Like a beam, on a flat surface, lay the hide and use a scraping tool to work on it. Start with scraping smaller pieces before handling thicker ones.
Soaking
Controlled rotting is a process of disintegration, especially when it comes to meat. Soaking a hide is almost synonymous with rotting since it involves hair removal and softening of tissues and membrane layers. There are many ways to soak a hide – sometimes in a creek or a bucket filled with water.With great regard to temperature, soaking takes about 3 days or more (even weeks) to be fully ready for the next stage.
Check out
| How to Setup Plate Carrier? |
| How to Read A Map Properly: Important Guide Every Survivalist Needs |
| When Preppers Fly: How to Get Your Pilot’s License |
2.
Pre-Brain Tanning; The Solution Right after you have prepared the hide for brain tanning, you are left with a few things to do. This stage is where half of the work occurs to ensure the tanning process goes smoothly as possible. It involves preparing the hide for the solution that separates it from a regular hide to a pre-made leather.
Membraning
A couple of weeks after scraping and soaking, the membraning is done.Here, any dry hide is rehydrated so that the membranes left out earlier can finally be worked upon. As you remove the left-over membranes, the hide becomes bare and ready for intense wringing.
Wringing
The wringing step is the removal of water (moisture) accumulated during the membraning from a hide. Now, it doesn’t mean the hide stays completely dry, but it is soft enough to begin brain tanning procedures.Learn more about survival tips, tricks, and more HERE.
3. Brain Tanning
The most important part of this article is the brain tanning procedure. In 2 easy steps, you should be getting closer to a final result, i.e., pure animal leather.Submerging
The “brains” is a warm, oily solution that consists of eggs, fat, lecithin, warm water, etc.. In this solution, submerge the hide until every part is completely saturated. It could take up to a day to achieve this, but it must happen. As soon as it is done, bring out the hide and wring until it is partially rid of the solution.Repeat the step of soaking and wringing as many times as possible until the brain solution reaches the slightest part of the hide.
Softening
The other part that also seems like a lot of work is softening. It is essential to carry out this process to prevent the hide from getting bone-hard and unsuitable to use. What you need to do is stretch the hide and make sure every fiber moves. Other things you may want to try out on the hide include stretching, cabling, staking, smacking, etc.Whatever you do, ensure the fiber doesn’t stay dormant.
4. Smoking
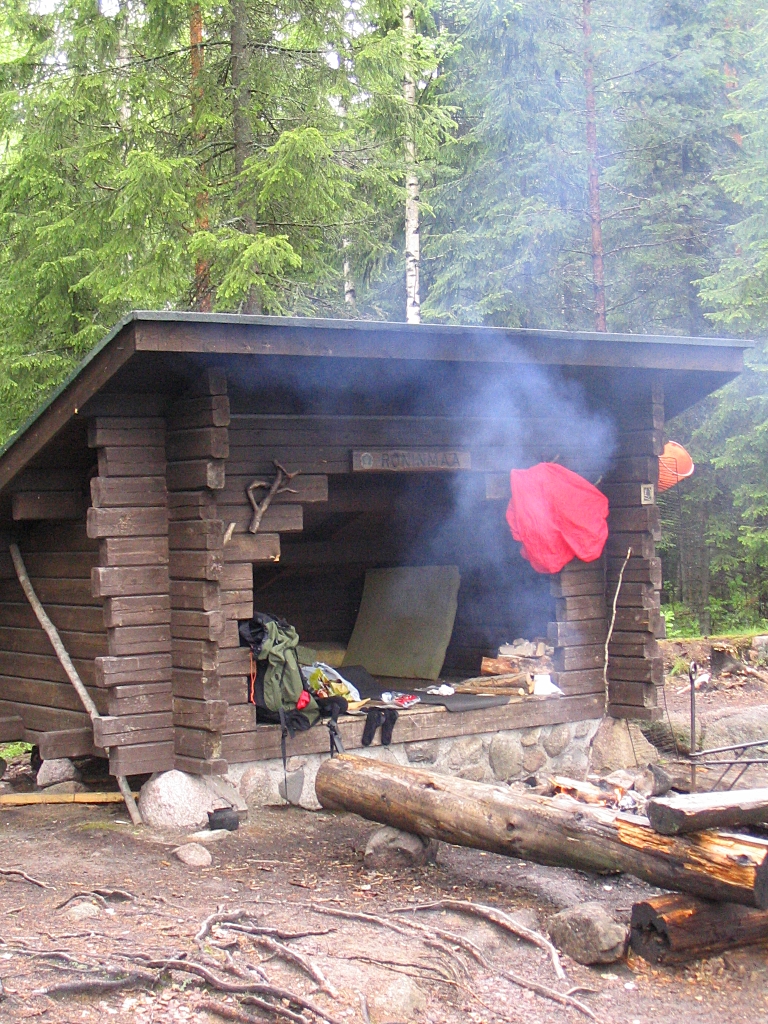
The last part of this entire tanning-a-hide experience is Smoking. It is a method of keeping or preserving a hide-turned-leather healthy and safe. Moreover, a not-so-hard hide would only get hard if it is not smoked; thus, you need to keep it soft through this technique, even though it is temporary. You could try smoking by hanging the hide over coals; it should take about 2 hours or more, depending on the size.Once you have successfully smoked the hide, it is completely ready for use.
What are the Materials You Need for Tanning?
With everything listed above, certainly, brain tanning is indeed a lot of work. What you further need to know is the materials that will aid the entire process for success. Below is a list of items useful and effective for tanning.- Deer Hide
- Knife
- Scraping Beam
- Olive Oil
- Brains – Egg Yolk
- Plastic Bucket
- Wringing Post
Conclusion
Even as stressful as a hide tanning sounds, your mind should be fixated on the goal and not the stress.This guide on how to tan a hide: brain tanning furs the simple way, has proven useful and delivered the processes most efficiently. As you explore this hunting skill, put in all your effort and get good results in the end.
Let us know what you think in the comments below.