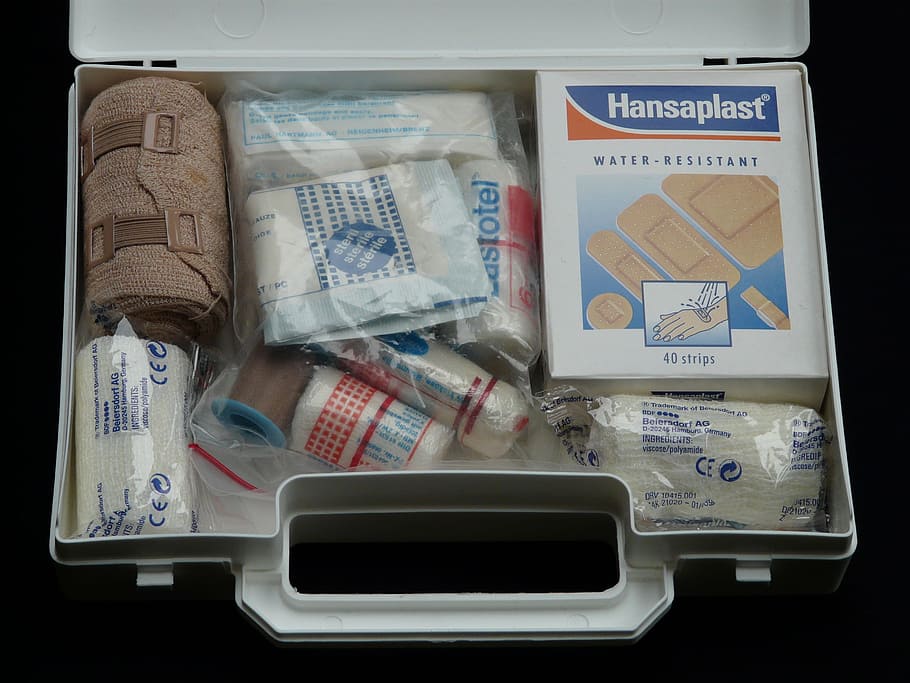
If you were in an accident or happened to witness one, the next quick thing you need is the first aid. Before a victim gets to an actual clinic, being stable is consequential. In a first aid box, there are all sorts of equipment that are useful in treating injuries, regardless of how severe they are. One of the significant pieces of equipment in the box is a SAM Splint.
SAM Splints are useful tools for stabilizing fractures or dislocations.
They are quite versatile based on their functions; thus, an excellent temporary solution after any accident. Usually, they are made of foam-covered thin-aluminum sheets, which makes them smooth, reliable, and easy to maintain.
While SAM Splints are useful in different ways for various parts of the body, they are available in several sizes. For instance, the standard size is 36 inches, which is suitable for both arms and legs.
However, regardless of the size, it would temporarily help you fix the problem.
How to Fold a SAM Splint?
If you are trying to use a SAM Splint for broken legs or arms, there are three primary ways to go about it.The C-Curve
One of the most active and effective ways to fold the splint is in a C-Curve. Here, the splint is bent in a lengthwise format; it goes all the way down to the middle in a C-shape.The Reverse C-Curve
A little more effective than the C-Curve is the Reverse C-Curve splinting method. All you have to do is bend the edges so that there is a large fold in the middle, and two smaller ones in opposite directions from the edges.The T-Curve
The most effective and most powerful splinting method is the T-Curve. It involves folding the splint into half in a lengthy position; then, bending half of either side of the fold to the back.Finally, keep the fold in a cross-section until it forms a T-shape.
Depending on the severity of the injury, choose any of these folding methods to keep you stable until an appropriate medical intervention.
How to Use a SAM Splint?
 As mentioned earlier, SAM Splints are versatile, and that means they are useful in different ways.
Below is a list of ways how to use a SAM Splint: Common Techniques (with pictures)!
Check out
| How to Signal An SOS? |
| Where is David Earl Burgert: Reknown Survivalist Militia Leader |
| What is a 550 Paracord? |
Fingers
On several occasions, people have had broken fingers due to one reason or another.When this happens, it gets painful – sometimes unbearable. What you need to do are:
- Maintain a straight finger position
- Cut a small portion of the splint and fold it around the finger
- Keep stable until you get to the clinic or hospital
Necks
In the majority of car accidents, the neck is commonly impacted.If you experience a collision that results in a head impact and neck twisting, utilizing a SAM Splint can be beneficial. This splint, when used alongside creative origami and tape, provides protection to both the neck and spine. It's advisable to keep the head stationary following such an incident to prevent further spinal injuries.
Knees/Femurs
When it comes to the legs, there are two ways to go about it, depending on the severity of the injury – The Single and The Double Full Leg Splints.However, either of these two splinting methods for the legs is significant, as they provide stability and support.
Furthermore, it is pertinent that the affected leg, i.e., knee or femur, is positioned appropriately to prevent further damage.
Ankles
For people who are used to running or hiking, ankle injury is quite common. Not only does it affect your stability and movement, but wholeness. In a case where you get a broken leg or ankle, a SAM Splint fills in the gap.Do the following, and be sure you are on the path to getting whole again:
-
- In half, fold the splint at the foot’s bottom
- Wrap one side of the splint to the front, cutting to the back; do the same for the other side
- With an “8” figure pattern, adjust the splint to fit perfectly
The splints for ankles can be used with a shoe or directly on foot, depending on how convenient you want to get.
Other fantastic ways to use a SAM Splint on different parts of the body include the elbows, the wrists, and the shoulders.
What are the Things You Should Know Before Using a SAM Splint?
Before you make use of a SAM Splint, there are a couple of things you should know.It’s Temporary!
For some reason, several people think splints are supposedly useful in the healing process of an injured part of the body. Contrary to that, it is only temporary, as you need to upgrade to something more sustainable.As an integral part of the first aid kit, it is only effective pending the time you get to a real clinic for treatment and dressing.
Adequate PREP
After an injury, you need to be sure what you have to administer to a victim.Peradventure, you will need a SAM Splint; mold and bend the first aid tool before application. The reason why you have to do that is to ensure it fits perfectly.
Do Not Wrap Too Tight
In the process of wrapping a splint around an injured area, the goal is to make it protected and not limit blood flow. When you wrap too tight, circulation could be limited, and that could cause further problems.Most importantly, assess the splint right after you are done.
Want to learn more about survival skills? CLICK HERE
Conclusion
No one is guaranteed an accident-free lifestyle; however, the severity could differ from one person to another. If you ever fall into a situation where you have broken bones on different parts of your body, you need to know how to use a SAM Splint: common techniques (with pictures)! Fortunately, with the description of the methods in this article, you should be able to take care of yourself before medical intervention.If you have any queries feel free to reach out in the comments section below.
Get more insights on survival on our website.